

How to Install Interlocking Foam Mats
Step by Step
At Jowy, we offer high-quality, durable puzzle flooring , but it’s important to keep in mind a series of guidelines and recommendations for proper installation and assembly of the puzzle tatami mat and to ensure it lasts longer.
Keep in mind that a properly installed tatami floor guarantees greater durability and better performance . That’s why it never hurts to remember how to install it correctly.
Interlocking Foam Mats Installation Step by Step
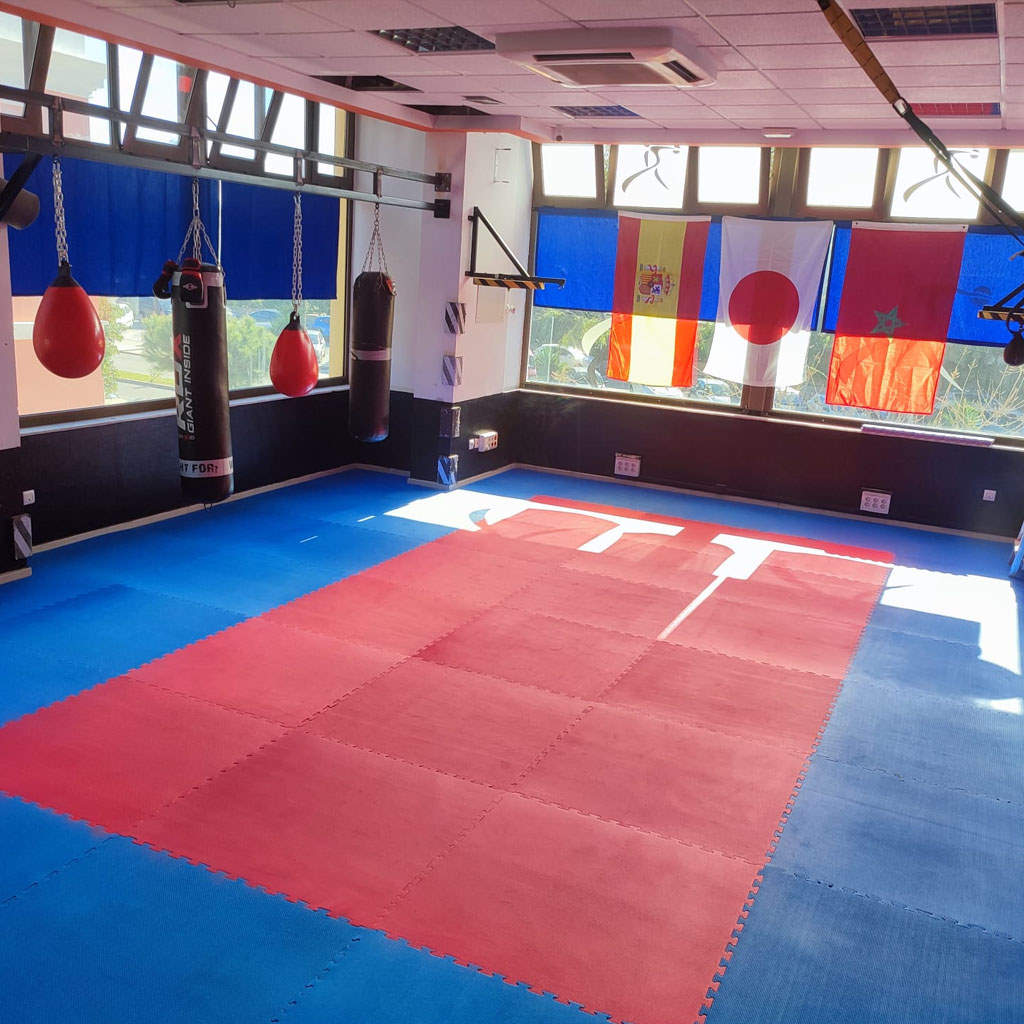
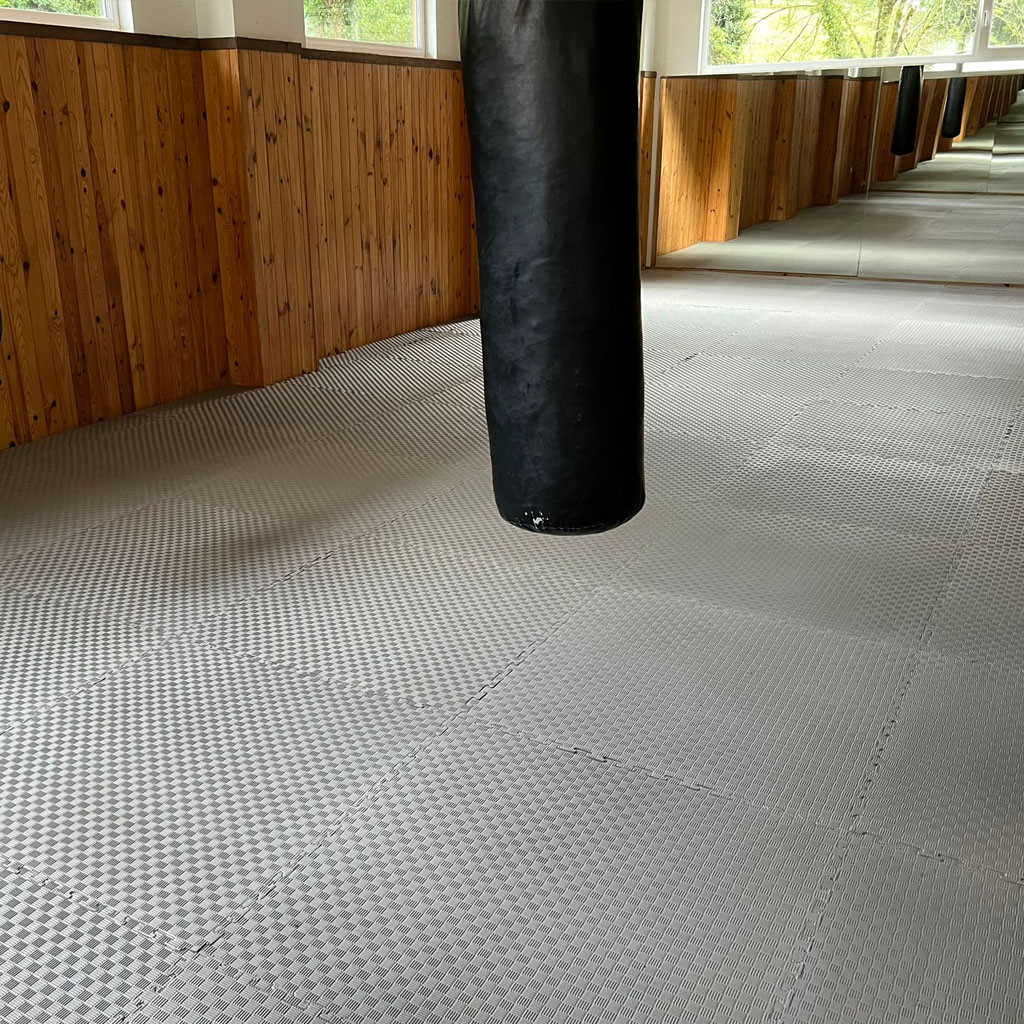
Puzzle tatami is very easy to install as it fits together like puzzle pieces without the need for adhesives or complicated tools.
Below we tell you the step-by-step process for installing the interlocking foam mats.
Define the space and the pieces you will need
First of all, you need to clearly define the area you want to cover and, based on that, plan the purchase of the parts you’ll need.
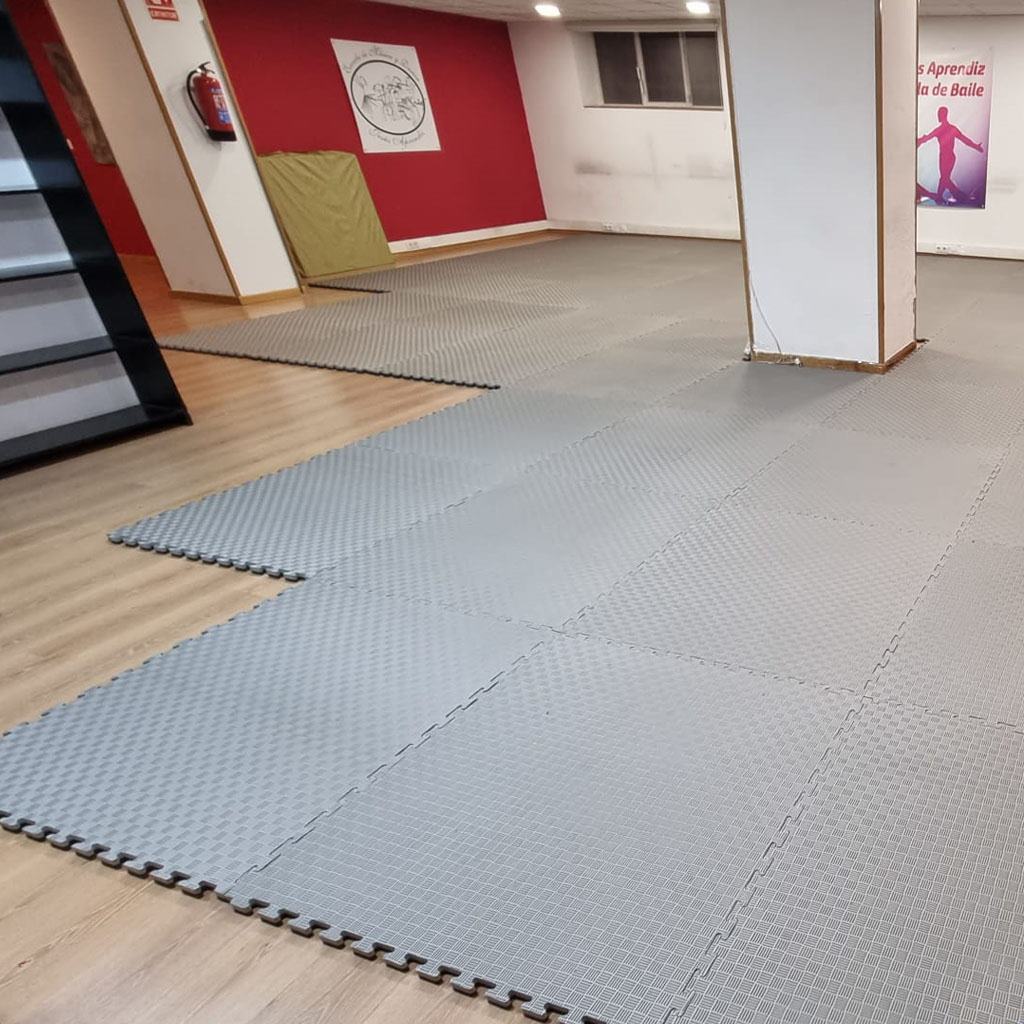
- If you purchase our 10mm jigsaw mat, each piece measures 60*60 cm, so each piece will cover 0.36m2.
- In the event that you purchase any of our other tatami mats, from 20mm to 40mm , as each piece measures 100cm*100cm, the area it would cover is 1m2 per piece.
Plan the distribution of the pieces in the area to be covered
To avoid having to disassemble and assemble the pieces, make a scale plan of the area to be covered with paper and pencil, measuring the space carefully so you can then plan the location of each piece and determine where cuts will be needed to fit them. This will save time on the installation and allow you to do it all at once without having to disassemble and assemble parts.
Remove the perimeter edges
Our tatami mats are delivered with the sides fitted. Before installing them, remove the edges from the pieces where they are not needed.
Typically, we recommend leaving the edges only on the pieces you plan to use around the entire perimeter of the area you’re covering, whether they’re the sides that touch the wall or the sides that finish the area you’re covering. You can also remove all the perimeter edges and then fit them into the areas where they’ll be needed, but this will take longer to assemble. That’s why we recommend planning ahead, measuring the space carefully and being clear about which pieces will be inside and which ones to leave to complete the perimeter.
Keep the position of the arrows in the same direction
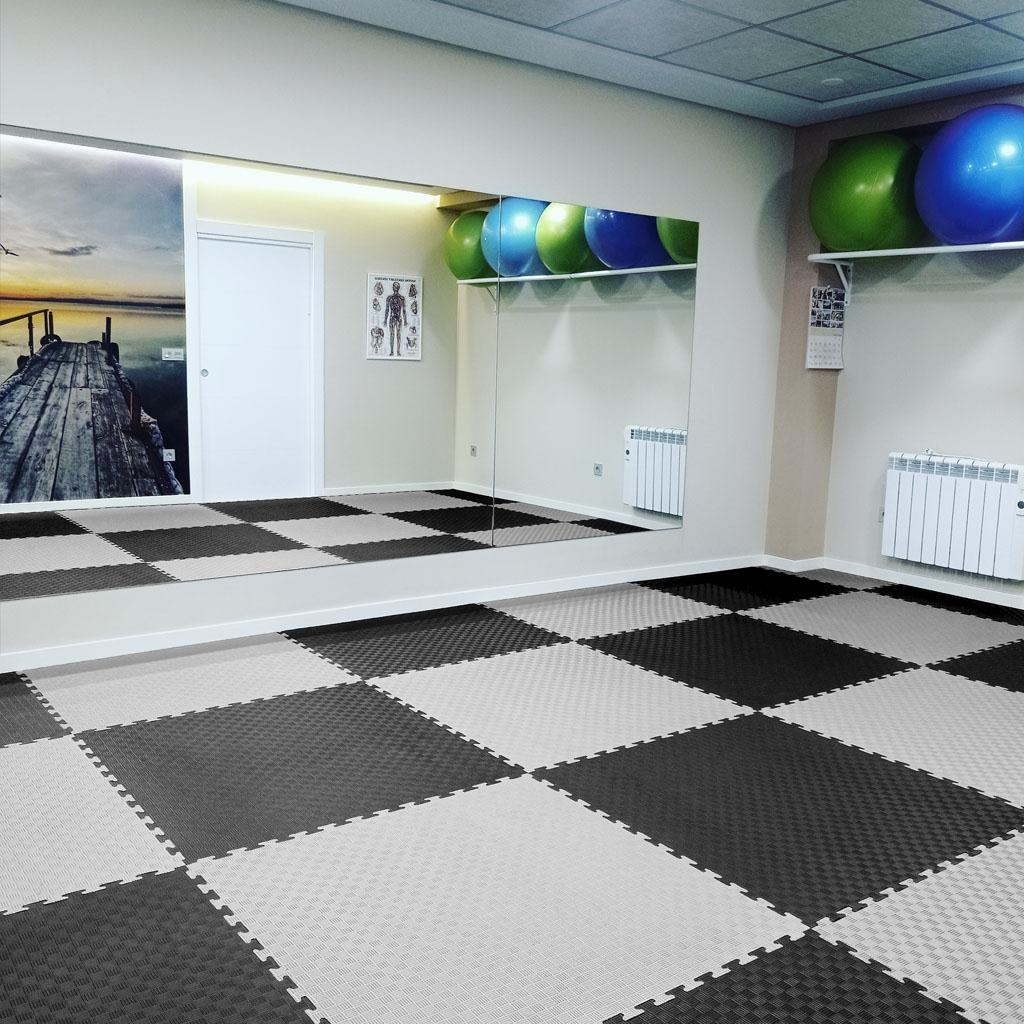
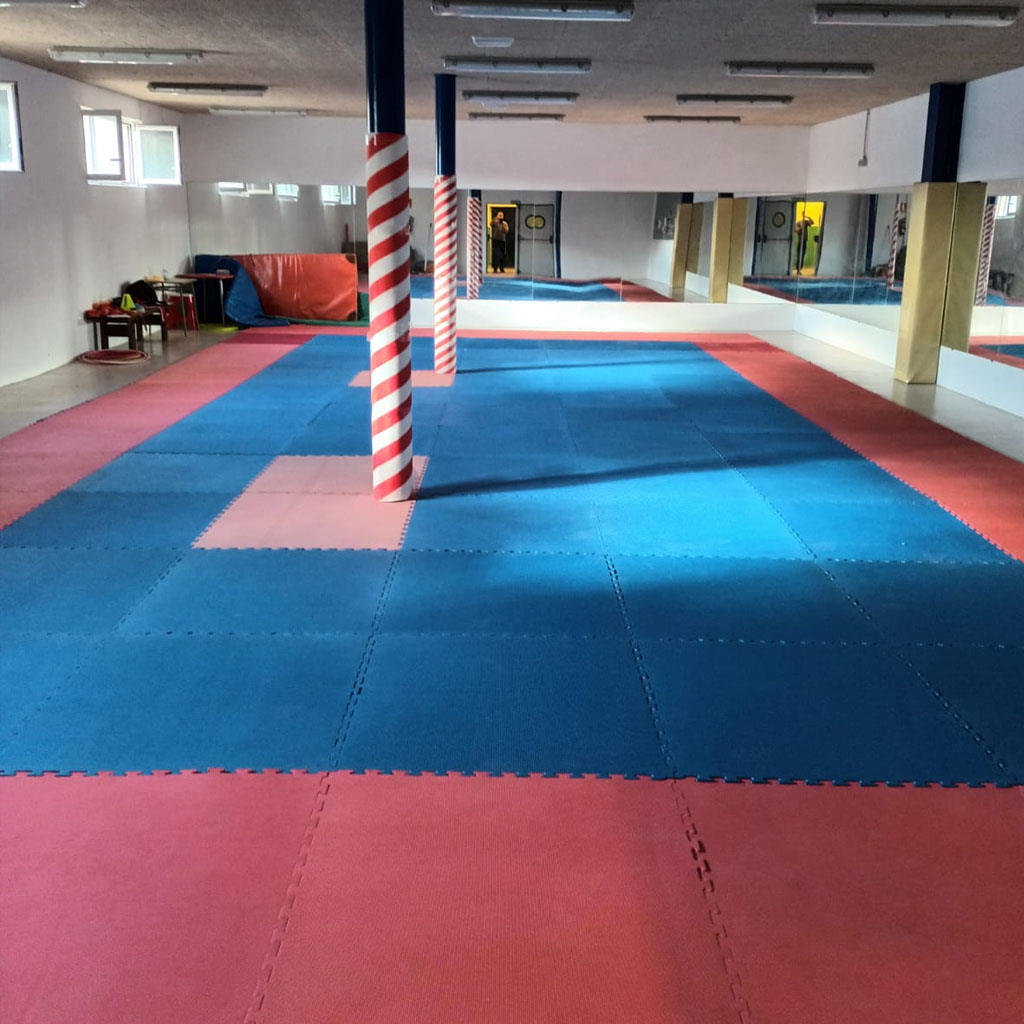
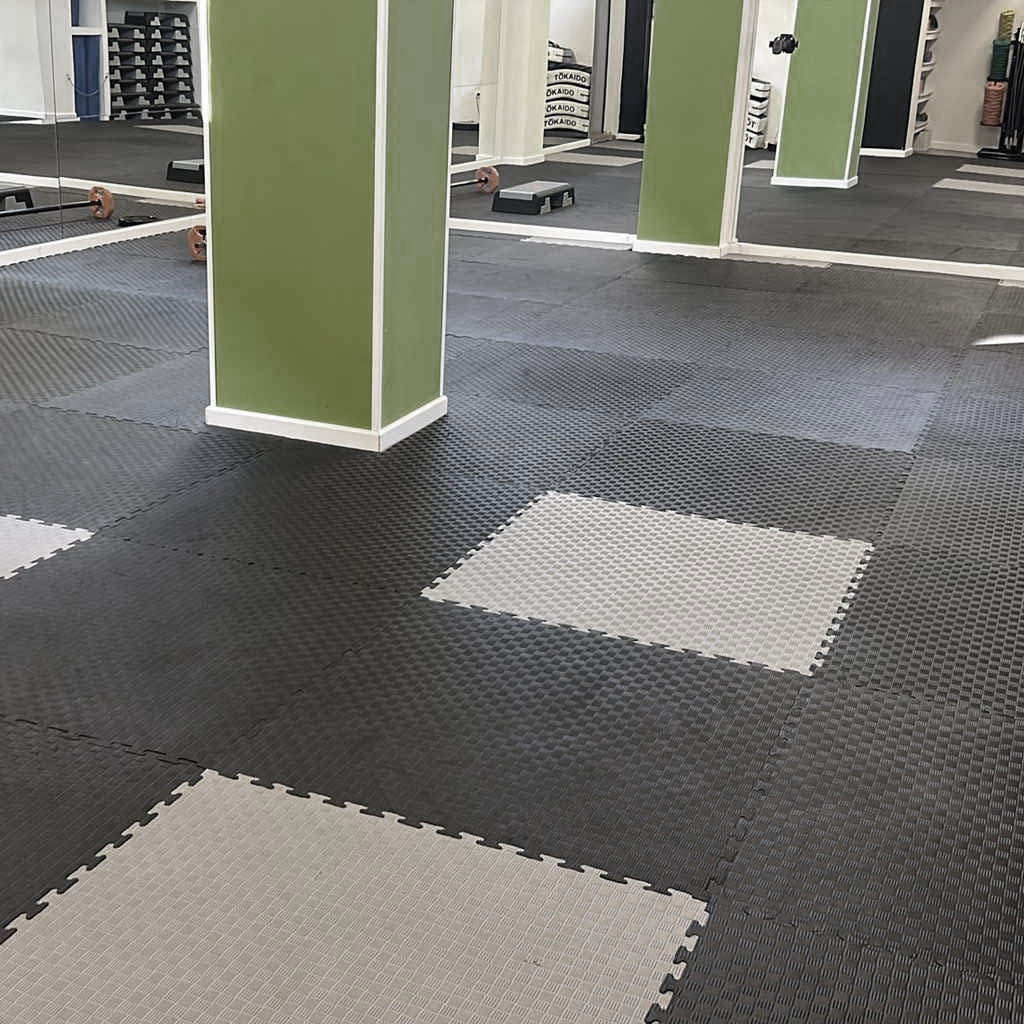
Start by assembling one piece and add the next, fitting it together with the arrows always pointing in the same direction. You’ll see that as you fit one piece to another , installation is very simple. Most of our jigsaw mats are reversible, so you can combine the pieces on any side you like, always following this pattern of arrows pointing in the same direction.
Plan the expansion zones of the pieces
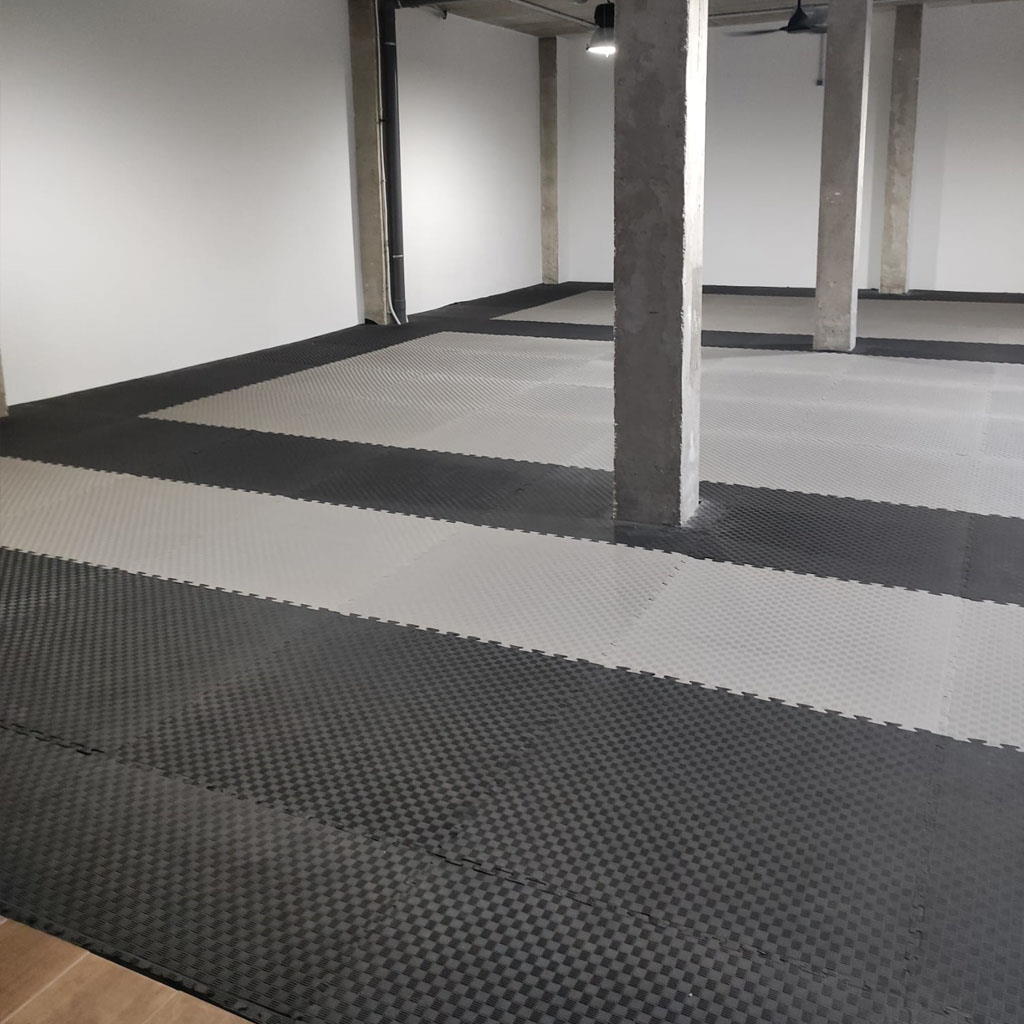
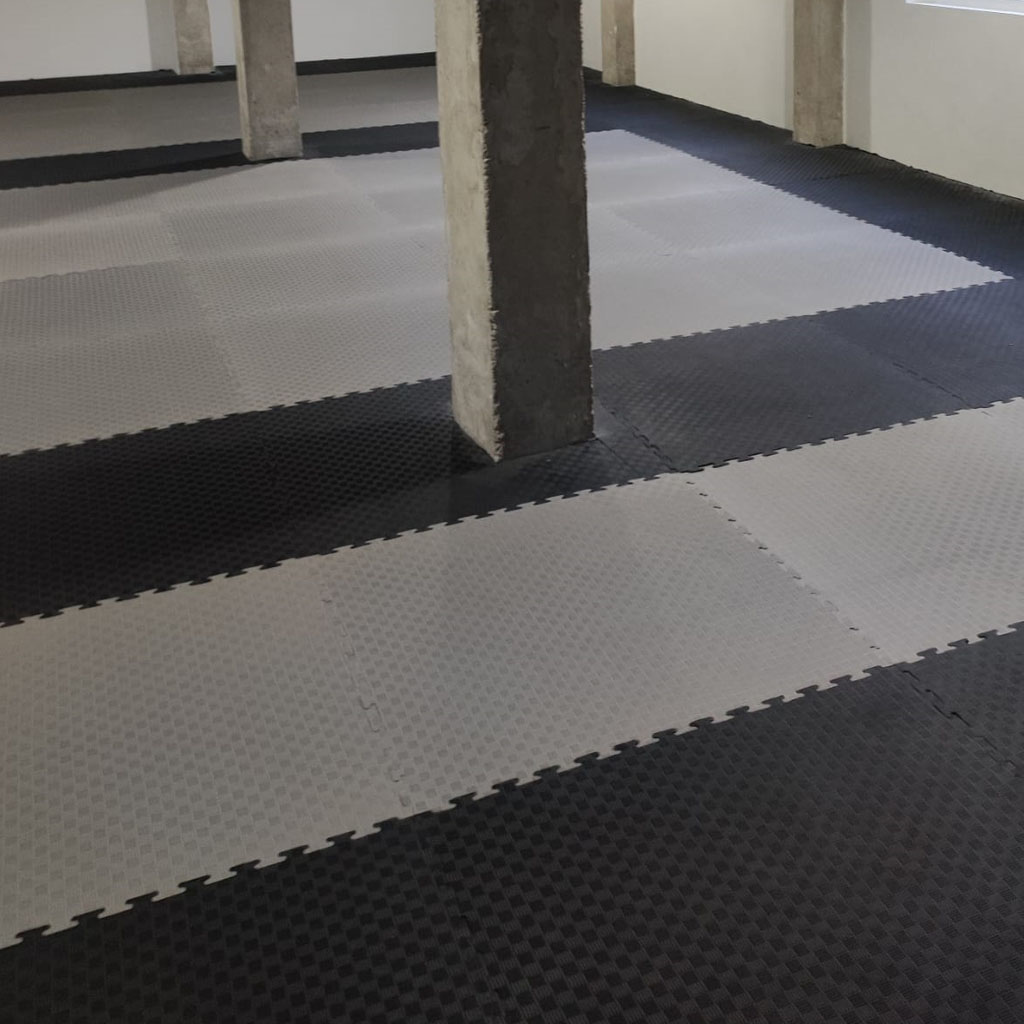
Our puzzle tatami is made from EVA foam. This material can expand and contract due to temperature changes or wear and tear . Therefore, when fitting the pieces into an area enclosed by walls or other structural elements, such as partitions or columns, always leave a space of about 5 to 10 cm from the wall or structural element .
This way, the pieces can expand and contract without deforming, achieving a perfect fit and greater durability.
Use a box cutter to cut the pieces
When the dimensions and shape of the room we want to cover require cutting a piece to fit it properly, we can easily do so with a box cutter. We recommend always measuring carefully and marking the piece where it should be cut. If necessary, you can also cut the sides to achieve a perfect fit around the entire perimeter.
Enjoy your perfectly installed jigsaw mat
Once your puzzle tatami is installed, you can start enjoying it.
Aspects to take into account regarding the installation of Jigsaw Mats
Although our puzzle tatami mat offers good performance and quality, keep in mind that it may suffer more with increasing use. Therefore, it’s important to keep in mind that:
- If you frequently disassemble and reassemble the interlocking foam mat, the edges may become warped and fit more poorly. This is normal, since the process of fitting and removing the pieces causes friction on the edges, which can eventually cause some misalignment when done repeatedly.
- If you want to expand and fit new pieces, try to do so within 5 or 6 months of the initial installation. This is because the use of the tatami and temperature changes may have caused some expansion of the existing tatami, making it difficult to fit new pieces.
Do you need a Tatami for your Martial Arts Center?